 |
| Photo by Dave Senator |
 |
| Photo by Dave Senator |
 |
| Photo by Kathy Fenner |
 |
| Photo by Kathy Fenner |

|
| Photo by Dave Senator |
|
| Photo by Dave Senator |
|
| Photo by Kathy Fenner |
|
| Photo by Kathy Fenner |

 |
| Future cart path site was stripped of sod |
 |
| Cart path area was excavated |
 |
| Grade stakes with set and string line was put up for cart path edges |
 |
| Crushed concrete based was compacted to a depth of 4" to make a solid surface for the concrete. Fabric lining was also used under the crushed concrete for stability in areas that could hold more moisture in the future |
 |
| Forms and base completed |
 |
| All work was done by in-house staff. 30 yards of concrete were poured and finished over 2 days |
 |
| Grade surrounding thew new path was excavated and worked to match the cart path. Sod was laid as the final touch. |
 |
| Railroad ties placed in bunker faces for aesthetics during a previous renovation were removed after committee recommendation and board approval. The faces of the bunkers were reshaped and new edges established. burlap bags full of soil were used to make the new bunker face edge as seen here in the photo |
 |
| All bunker faces were sodded following railroad tie removal |
 |
| Drainage that had failed was dug up on select bunkers on the West course and repaired. |
 |
| Fertilizer storage at the maintenance facility was updated for cleanliness, safety, more room, and ease of inventory. This photo illustrates how fertilizer pallets were previously stored. |
 |
| Updated shelving for fertilizer storage |
 |
| Another lightning shelter base was re-leveled. Previously the bricks were very uneven and needed repair. |
 |
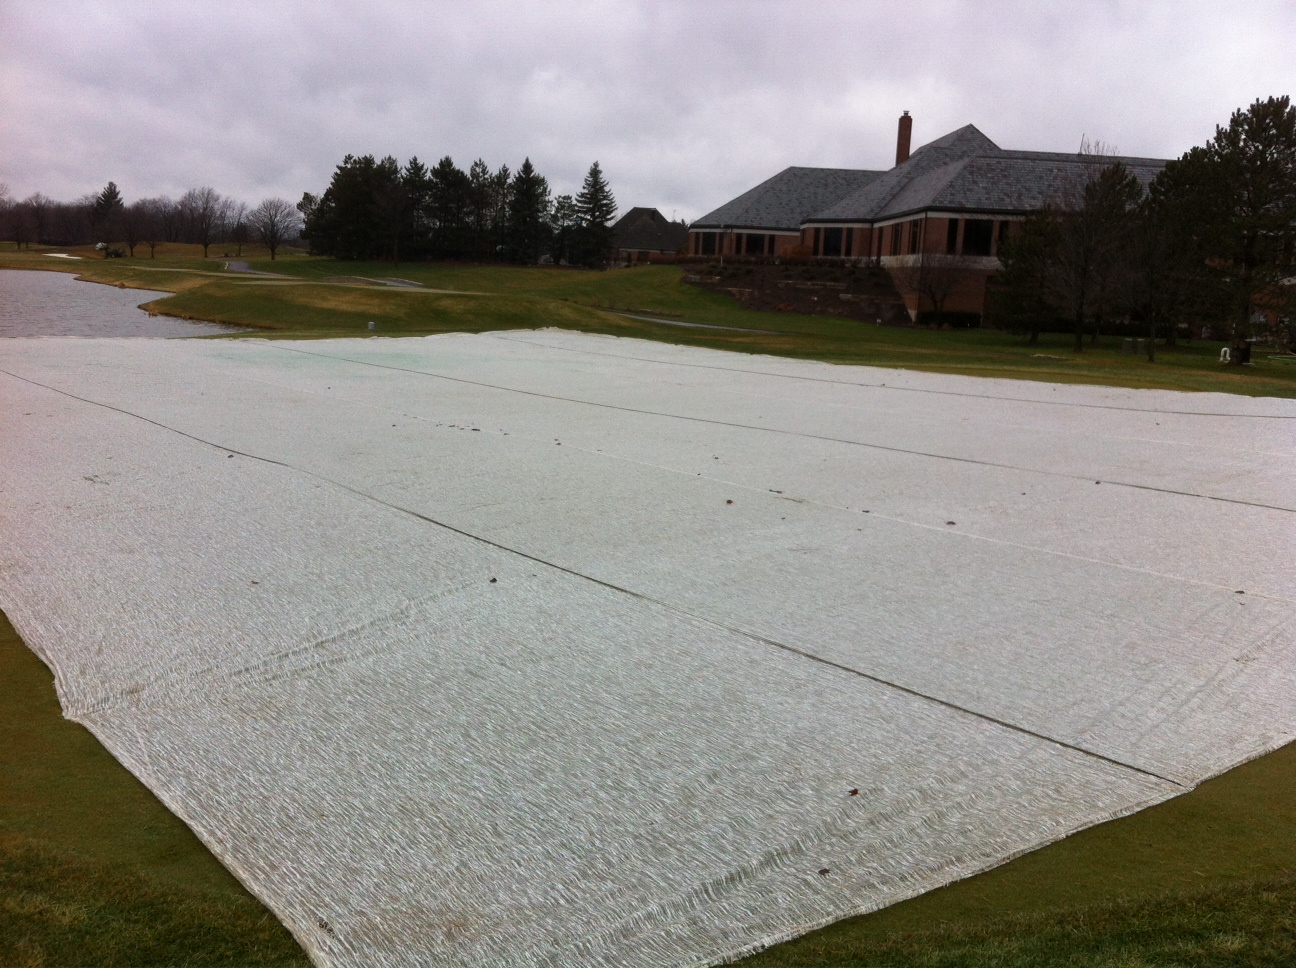
| Solid tine aerication was completed for all 31 greens within a two day window |
 |
| This picture shows where an old cart path was on 8 South. After construction this path was no longer in use. Using our mini-excavator, the old asphalt was removed and new soil was graded into this area. |
 |
| The old cart path with new soil graded in and close to being ready for seed. This area will be seeded in the spring of 2017. |
 |
| Patio pavers underneath the lightning shelters were in poor shape. |
 |
| Pavers were removed. As can be seen in this photo, a sufficient base was not used in the past to keep the pavers from moving. |
 |
| A new stone base was installed and compacted and the pavers were laid back in place. Finish grading and sod is the next step to completing this area. |
 |
| Fine fescue natives are being treated for weeds today as part of our fall maintenance program. Cutting down these areas to normal rough height will begin on September 30th which also helps control unwanted weeds as well as dead plant material. |
 |
| Cart path sinking around disconnected culvert |
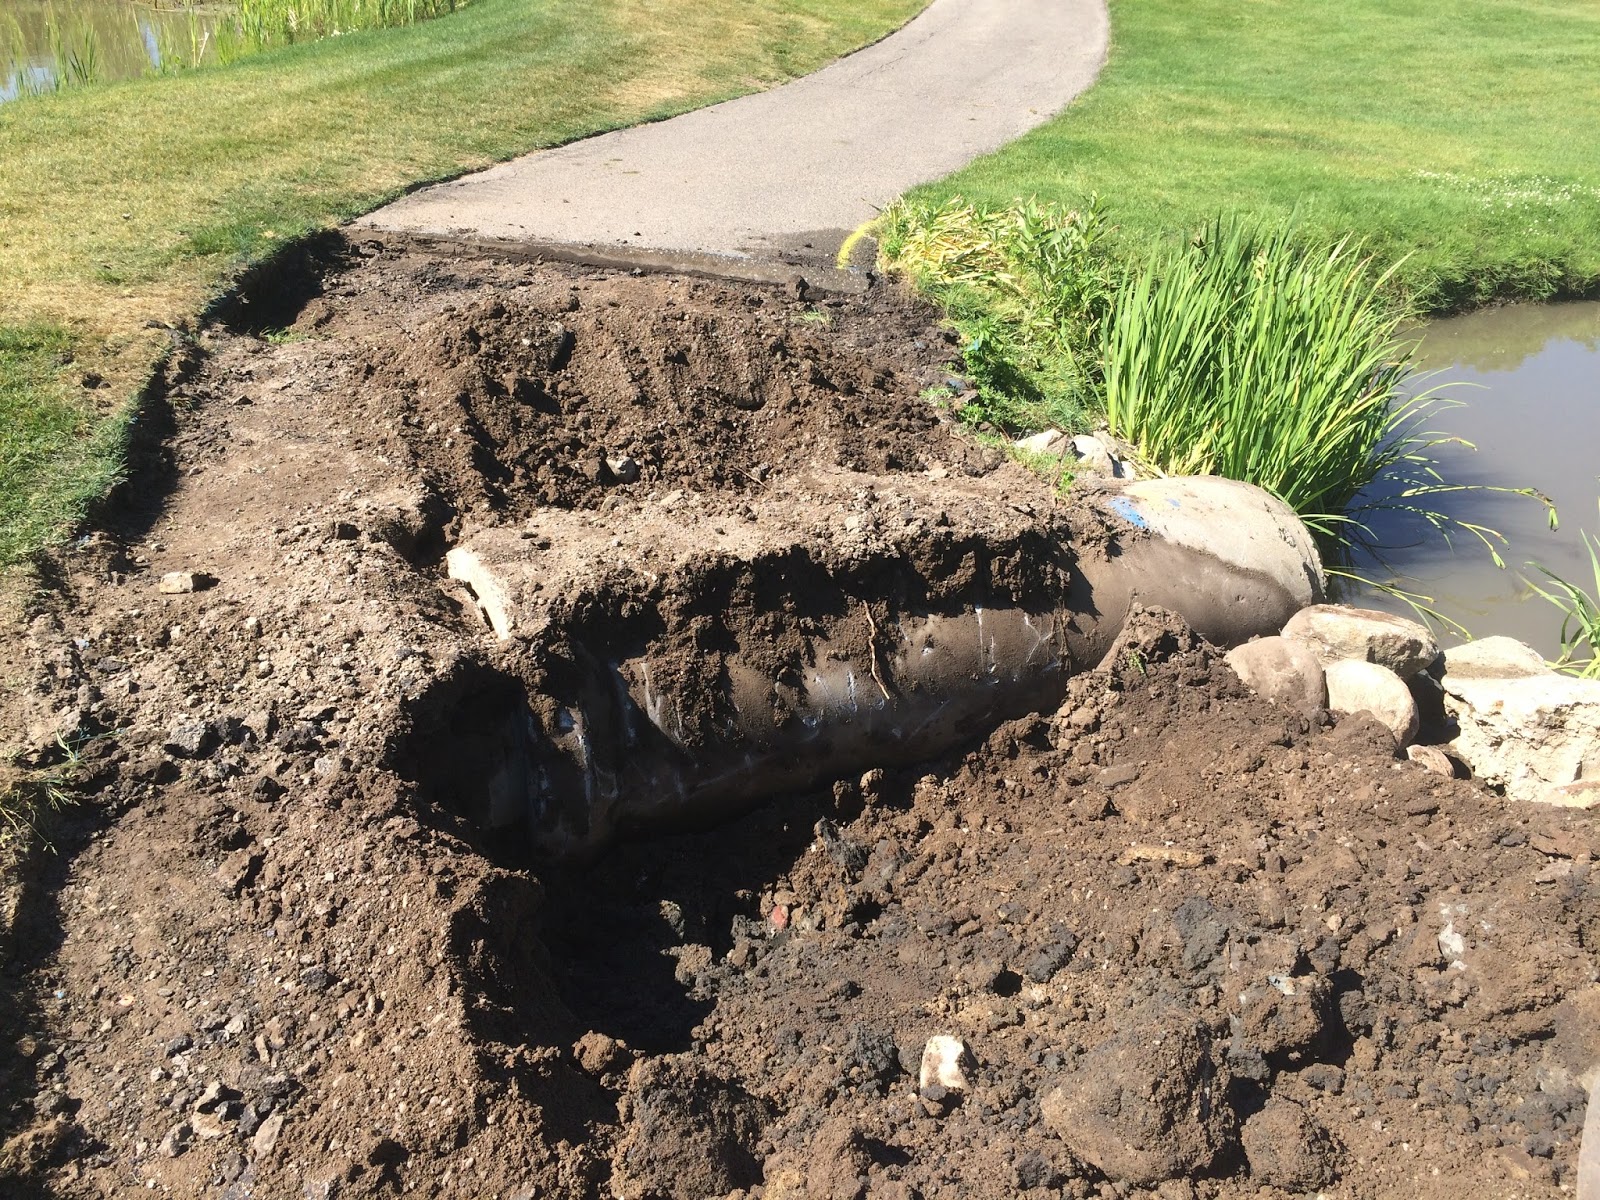 |
| Space can be seen here where the connection should be tight |
 |
| Repaired culvert |
 |
| Stone was compacted all around the pipe for stability |
 |
| New "bridge" was framed and leveled with sand |
 |
| Wire mesh installed for strength and concrete being poured |
 |
| Concrete finished and rebar set for block installation |
 |
| Block being installed on both sides |
 |
| Stone veneer was custom fit piece by piece |
 |
| Thin veneer being applied to the sides |
 |
| Cap pieces added as the final touch |
 |
| New path poured to align properly to the new bridge |
 |
| The first step after identifying the shape and size of the patio was to identify the location where it would be built. Using a stake in the center as the proposed fire pit spot, measurements were made and irrigation flags were used to outline the edges of the future patio. Seeing it set up in this fashion allowed everyone to get a feel of the size before any product was ordered. |
 |
| Four different quotes were collected for our bulk patio supplies order. When the order was placed, all materials were delivered at once to minimize delivery costs. |
 |
| Once the materials were on site, excavation began using our mini-excavator. To blend the patio and wall into the hill, almost three feet of soil had to be excavated on the back side where the seating wall would be placed. |
 |
| Mother nature didn't always cooperate and frequent rain during excavation made for a muddy project. |
 |
| When all the excavation was complete, the patio shape was re-marked and flagged. Small tweaks were made at this time to ensure the area was properly graded. |
 |
| 6-8" of stone base was added above the soil grade and compacted to provide a firm base for the patio. Doing this minimizes the risk that the patio blocks will ever move. |
 |
| Construction first began with the seating wall that wraps around the back of the patio including the steps. This involved custom cutting some blocks to make the shape needed for our build. |
 |
| Utilizing the wall blocks, steps were built for entering and exiting the patio. It was extremely important at this time to ensure the blocks were set at the proper grade using a laser transit and levels. |
 |
| Once a level, compacted grade was established, the wall went up fairly quickly. All wall blocks are secured together using construction adhesive. |
 |
| Wall blocks were placed all around the exterior of the patio to allow for less carrying of the heavy block to set them in place. |
 |
| Drainage tile was installed behind the wall to move water away from the patio. Geotextile fabric was also used against the back of the seating wall to prevent the movement of soil through the cracks. |
 |
| Geotextile fabric installed along the back of the wall |
 |
| 2" of slag sand on top of the compacted stone is used to create a very level surface for the pavers. To get the sand level, pipes are inset and the top of the pipe is set 2 inches below the finish patio grade. A flat board is dragged between the pipes, flattening the sand at the intended grade. When this is complete, pavers can start being set into place. |
 |
| Before pavers could be laid across the whole patio, a contractor was hired to run the main gas line and electric service into place. |
 |
| The patio build didn't come without it's problems! Weather changed and everything froze. This slowed down the build but in the end did not negatively impact it. |
 |
| The patio paver process moved quickly when the staff helping was trained to take over the leveling process. |
 |
| The fire pit was built into the patio over top of the previously placed gas line |
 |
| Step coping was set in place during the installation of LED lights |
 |
| Here the patio surface has been completed. After all the patio pavers were laid in place, polymetric sand was broomed into all the joints and a plate compacter was used to work the sand in. This process locks the pavers in place. After the sand broomed in and compacted, water was sprayed on the surface to activate the glue in the sand. |
 |
| LED lights highlighting the new seating wall and steps |
 |
| Plumbing of the fire pit was also done by in house staff |


 |
| Finished patio! Great job by all the staff! |


